![AIM Logo Final White RGB@2x.png]](https://3437204.hs-sites.com/hs-fs/hubfs/AIM%20Logo%20Final%20White%20RGB@2x.png?height=50&name=AIM%20Logo%20Final%20White%20RGB@2x.png)
The Return Trip function creates another call for the return trip of the initial transport. Click the Create Return Trip Button for a new call. This populates data from the first call and uses the same Patient Care Number (with an added letter) to identify it as the second leg of the transport.
Note: The Create Return Trip is specific to the Scheduled-type Profiles and does not appear for the Emergency-type Profiles. This setting can be configured in Profiles Setup.
To Create a Return Trip:
- Create the first call (leg) of the transport. Enter all necessary fields..
- Click Create Return Trip in the top-right of the Incident or Quick Intake pages.

- The "Are you sure you want to create a return trip for this patient?" Prompt will appear. Click Yes.
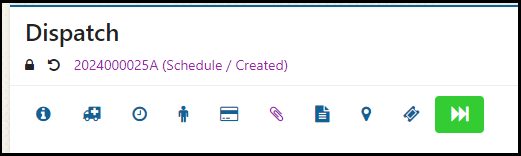
- A new call will be created with the same trip number, only with a new letter added to the trip number to make this a unique transport, but to still reference the initial transport.
- Remember to review the data in the Return Trip to confirm it is accurate.
To ensure proper trip numbering, an 'A' can be added to the trip number before the Return Trip is created in order for the Return Trip to automatically add a 'B' to its trip number instead. This can be done manually or automatically in Configuration Switches Setup.
When a new call is created from this functionality:
- Appropriate data is transferred from the first call to the new call.
- The new call shows on the current screen with edit enabled.
- A letter is added to the Incident Number, Patient Number, and Response Number.
Note: If none, then A is added. If a letter exists, the next letter is added.
- The Return Trip icon is added to the header of the call.
- The locations (Picked Up, Taken To) are flipped for the Return Trip.