![AIM Logo Final White RGB@2x.png]](https://3437204.hs-sites.com/hs-fs/hubfs/AIM%20Logo%20Final%20White%20RGB@2x.png?height=50&name=AIM%20Logo%20Final%20White%20RGB@2x.png)
The most common situation is with Medicare claims and duplicate claim rejections posted by reconciliation. Often, the duplicate claim rejections are received on a file before the payment file. With the Rejections posted, no other transaction can be posted in that status. The removal of that status requires skill and involvement that cannot be accomplished through the Batch Payer Posting Feature.
Use the Remove Rejection from Bill Utility to remove a Rejection Transaction, if the last posted transaction for the current payer.
In order for this utility to work, the Account Status of the bill must equal Rejected.
If you are not in edit mode, but the bill is on the screen, it will not automatically update after the removal of the rejection, but if you enable edit, the bill will update.
Select the Utilities icon on the top right of the menu bar.

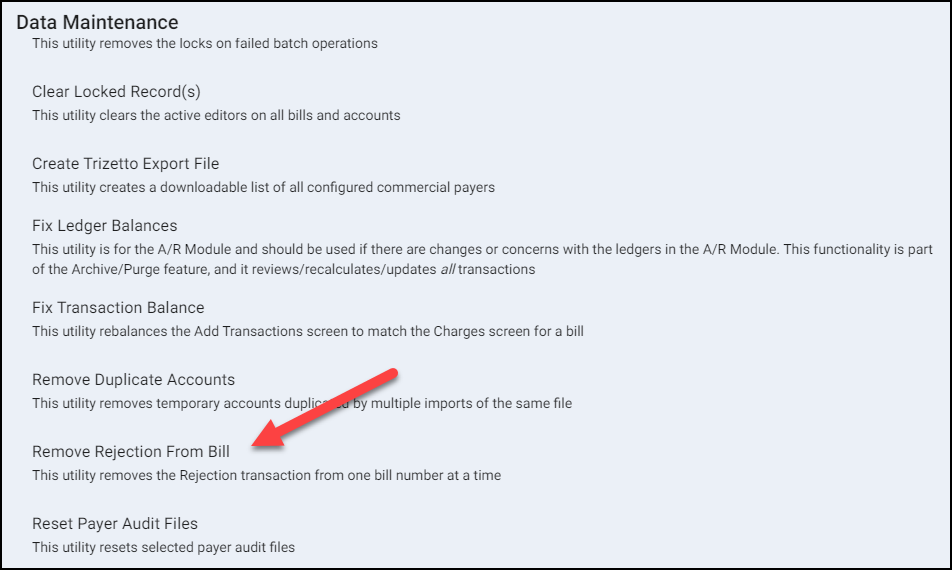
Within the Data Maintenance window, select the option: Remove Rejection from Bill.
Enter all requested information to remove the rejection from the bill.

- Select the Agency (if applicable).
- Enter the Bill Number(s).
- Select Add button to include additional Bill Numbers if needed (use delete icon to remove additional Bill Number).
- Click Run.
- Confirm you want to remove the rejection for specified bill number(s).
- A prompt confirms the rejection(s) has been removed.
After a rejection has been removed, the system will attach the EOB automatically if one had already been hyperlinked to the Rejection transaction through use of the Automatic Rejection function in the Connect to Retrieve Reports screen.